
A well-crafted case study video is one of the most powerful tools to demonstrate the success of your product or service. It builds credibility, showcases real results, and helps potential clients see themselves benefiting from what you offer. This guide walks you through every step of the process to ensure your case study video is compelling, professional, and effective.
Step 1: Define Your Strategy
Before you begin, clarify the purpose of your case study video:
- What message do you want to convey?
- Who is your target audience?
- What key outcomes or transformations should be highlighted?
A well-thought-out strategy ensures that your video aligns with your business goals and resonates with your audience.
Step 2: Choose the Right Client to Feature
Your featured client should:
- Represent your ideal customer
- Have achieved measurable success using your product/service
- Be willing to speak on camera and share their experience
- Be relatable to your target audience
It’s beneficial to select a client who is articulate and enthusiastic about your work.
Step 3: Secure Their Participation
Approach your chosen client professionally:
- Explain the purpose of the case study video
- Highlight the mutual benefits (e.g., exposure for their brand, sharing their success story)
- Offer reassurance about the production process
- Provide a simple agreement outlining what’s involved
Once they agree, set clear expectations about their role in the video.
Step 4: Brief Your Client
To help your client feel comfortable and prepared:
- Share an overview of the filming process
- Provide a list of potential questions
- Offer tips on how to answer concisely and naturally
- Assure them that they don’t need to memorize lines
- Let them know they can redo takes if necessary
Step 5: Plan Your Questions
The interview should tell a compelling story. Structure your questions around:
- The Challenge – What problem were they facing before working with you?
- The Solution – How did your product/service help them?
- The Results – What measurable improvements did they experience?
- The Experience – What was it like working with you?
- The Recommendation – Why would they recommend you?
Open-ended questions work best, allowing your client to give genuine, engaging responses.
Step 6: Plan the Visuals
A great case study video isn’t just about talking heads—it’s about storytelling through visuals. Think about:
- Footage of the client using your product/service
- Before-and-after comparisons (where applicable)
- Behind-the-scenes shots of their business operations
- Action shots that bring their story to life
- Animation or motion graphics to enhance key points
Step 7: Structure the Video
A case study video should follow a logical flow:
- Introduction – A quick, engaging hook that sets up the client’s story
- The Challenge – The problem they faced before working with you
- The Solution – How your service/product made a difference
- The Results – Measurable improvements, data points, and transformations
- Client Testimonial – Their personal endorsement of your work
- Call to Action – Encourage viewers to take the next step
Step 8: Work with a Production Company
A professional video production company ensures your case study video is high quality. When working with a production company:
- Clearly communicate your vision and goals
- Share your planned structure and key messages
- Discuss locations, lighting, and sound requirements
- Plan a shoot schedule that maximizes efficiency
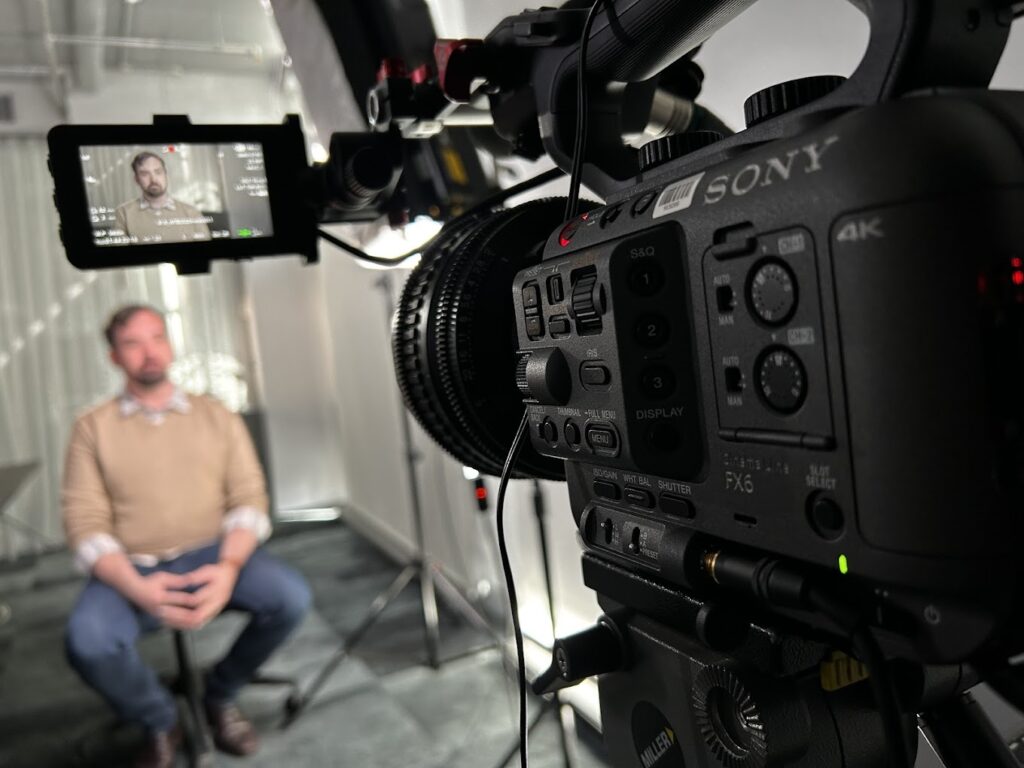
Step 9: The Day of Filming
Ensure a smooth filming process by:
- Arriving early to set up
- Making the client feel at ease
- Conducting a relaxed, conversational interview
- Capturing enough B-roll footage to enhance storytelling
- Ensuring audio and lighting quality are top-notch
A well-organized shoot leads to a seamless editing process.
Step 10: Post-Production & Editing
Once the footage is captured, editing brings it all together. Key elements to focus on:
- Editing out unnecessary content to keep the video concise
- Adding branding elements, such as logos and color schemes
- Incorporating captions for accessibility
- Using music and sound design to enhance engagement
- Including graphics or animations to emphasize key points
Step 11: Recommended Video Lengths & Formats
To ensure maximum engagement, consider these video length guidelines based on the platform:
- Website Case Study Video: 2-3 minutes – enough time to tell a compelling story without losing viewer interest.
- YouTube & LinkedIn: 1.5-3 minutes – optimal length for engagement and retention.
- Instagram & Facebook: 60-90 seconds – shorter clips perform better on social media.
- Twitter/X: Under 60 seconds – concise storytelling works best on this platform.
- Sales Presentations: 3-5 minutes – a slightly longer version that provides deeper insights for potential clients.
Keeping videos concise and to the point ensures they remain engaging and impactful.
Step 12: Distribute the Video
Maximize the reach of your case study video by distributing it strategically:
- Embed it on your website (e.g., testimonial or case study pages)
- Share it on social media platforms (LinkedIn, YouTube, Facebook, Instagram)
- Use it in email marketing campaigns
- Include it in sales presentations and proposals
- Leverage it in paid advertising campaigns
Repurposing the video into shorter clips for social media can also extend its impact.
Final Thoughts
A case study video is a powerful marketing asset that builds trust, showcases real results, and persuades potential clients. By following this step-by-step guide, you’ll ensure your case study video is engaging, professional, and effective.
Need expert assistance? Contact Dream Engine to bring your case study video to life with professional storytelling, cinematography, and editing that delivers results.
Ryan Spanger is one of Melbourne’s most respected and sought-after video production professionals. Ryan founded Dream Engine in 2002, and specialises in helping medium to large corporates, government departments, and the non-profit sector to connect with their audience more effectively by using video.