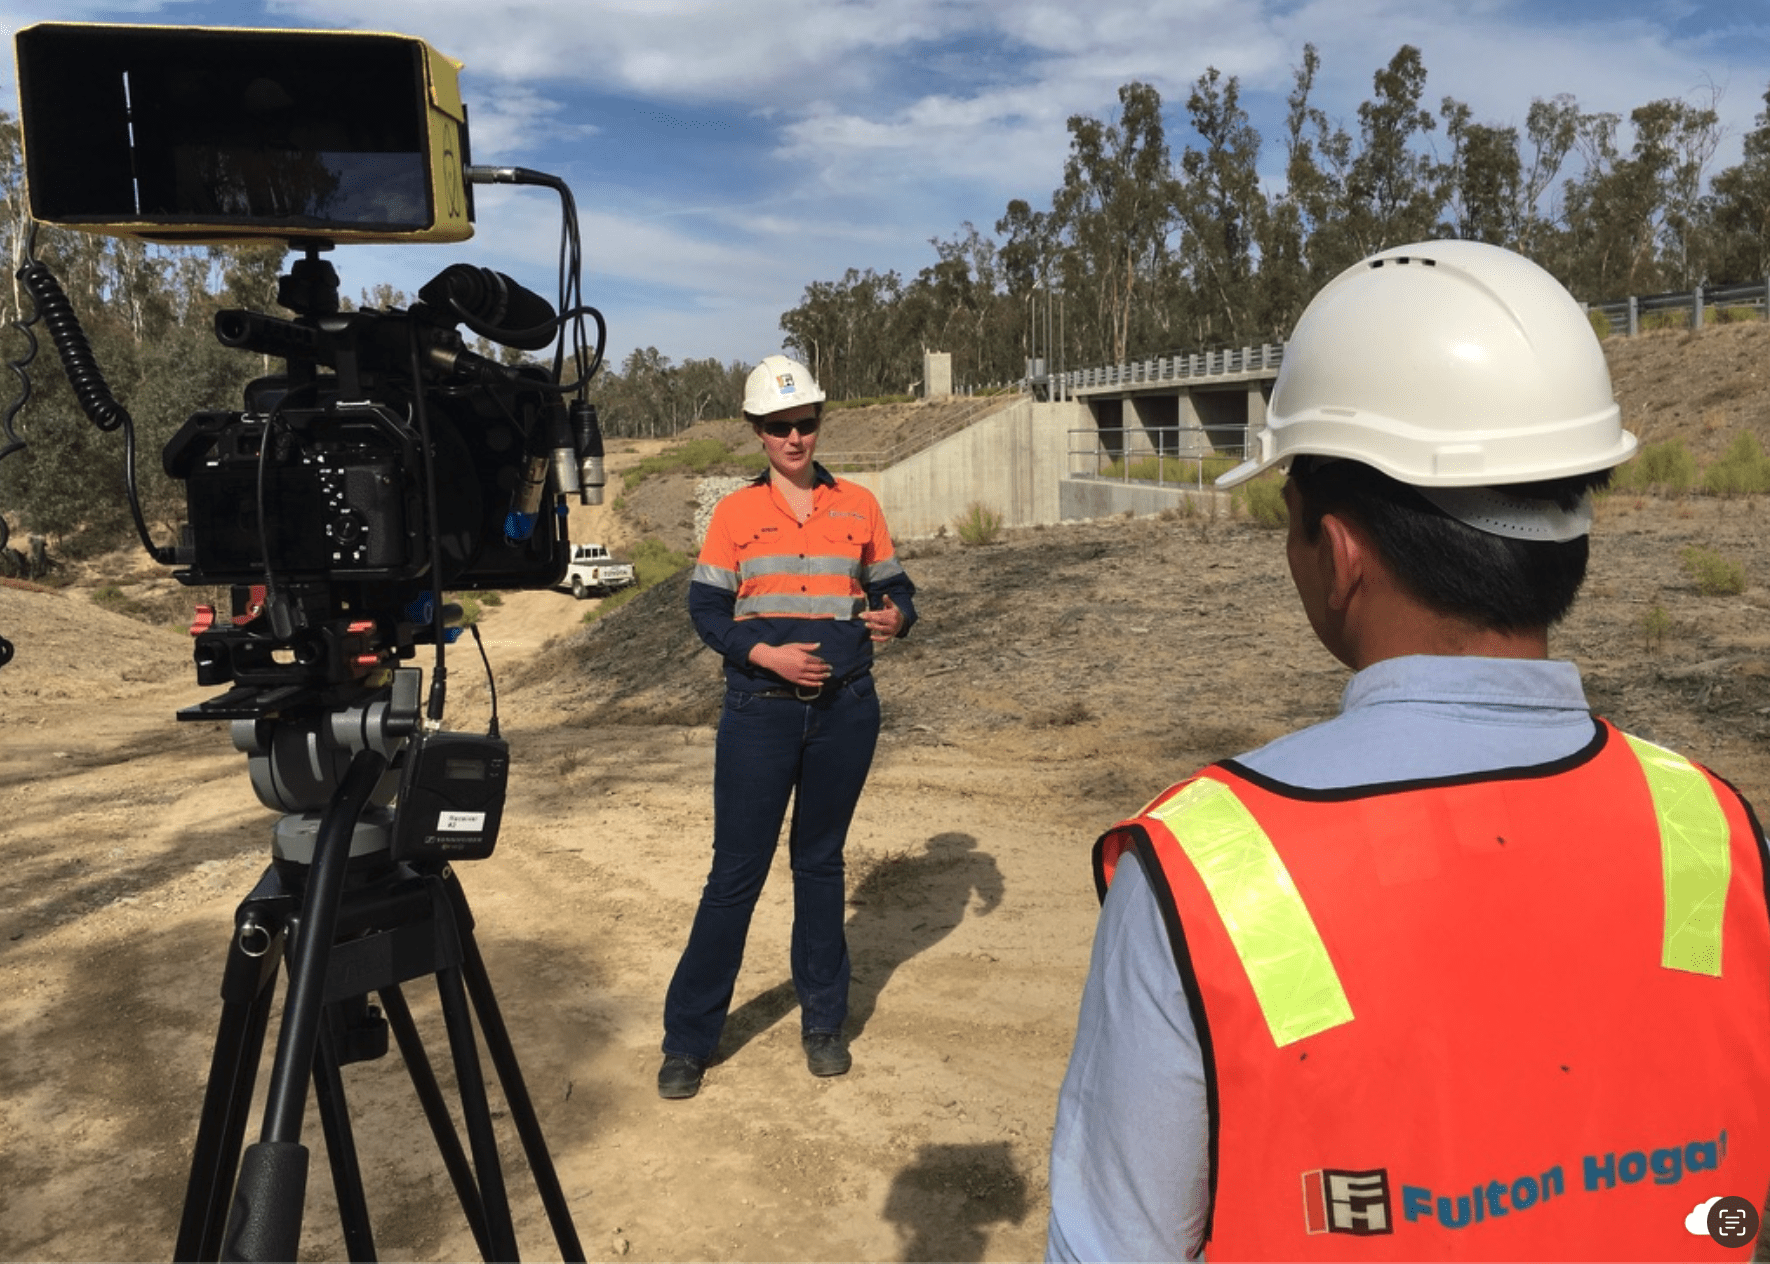
Time-lapse compresses hours, days or months of activity into a short sequence. In a corporate video, it can show a building taking shape, a production process or an event being set up. The best starting point is to decide what change the viewer needs to see, then choose a camera position and shooting interval that will capture it.
It can be useful in construction videos and corporate videos where progress is part of the story. If people need to understand an individual task, combine the time-lapse with normal-speed footage and close-ups so important details are not lost.
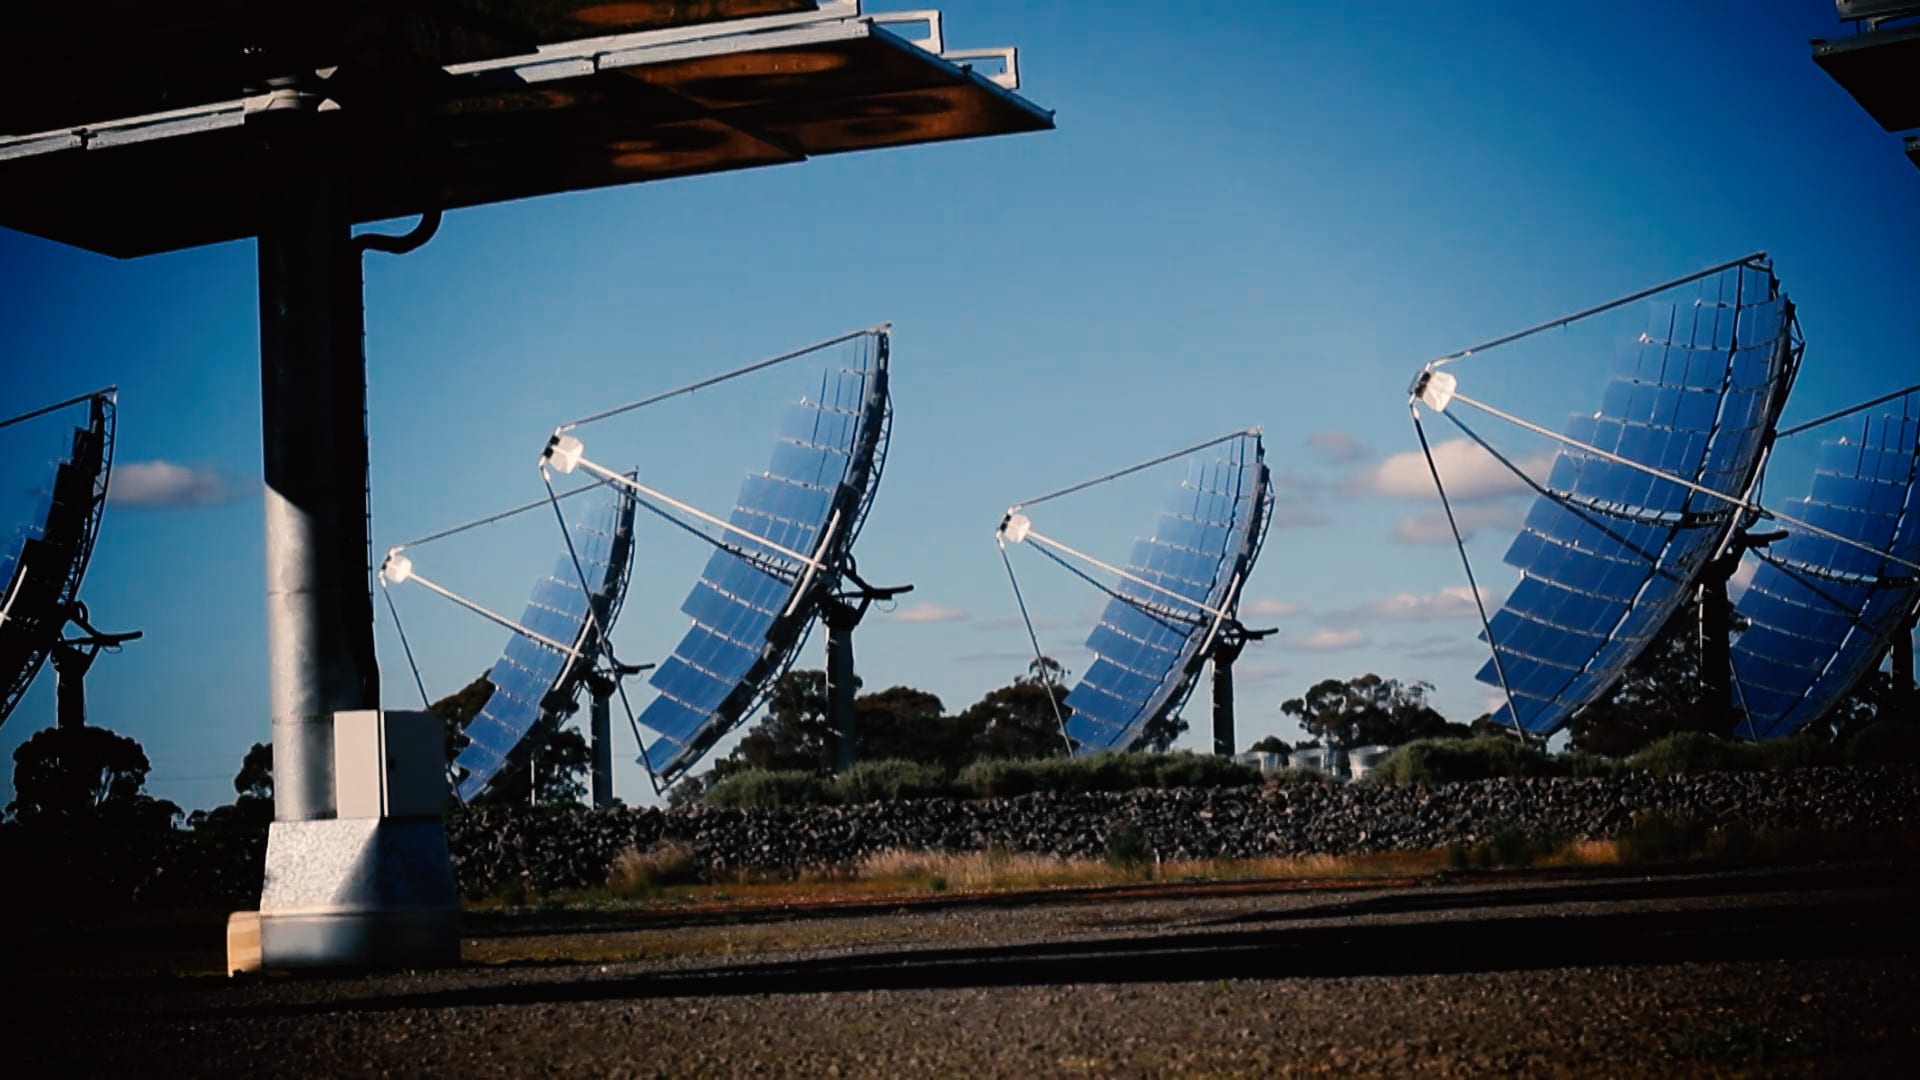
Watch: Solar Systems | 2 min 5 sec
Time-lapse vs sped-up video
For a short sequence, you can record continuous video and speed it up in an editor such as Adobe Premiere Pro. This is convenient when a video camera is already in position, and gives you continuous coverage to choose from. It also uses power and storage throughout the recording.
For longer periods, another option is to take still photographs at regular intervals with a DSLR, mirrorless camera or a dedicated time-lapse system. Depending on the camera and settings, stills can offer:
- Room to crop and reframe. Higher-resolution photographs can let you add a pan or zoom in the edit while retaining enough detail for the final video.
- RAW files for adjustments. RAW capture gives you more scope to adjust colour and exposure, although it cannot recover detail that was not recorded.
- Control over motion blur. A longer exposure can soften the movement of people or machinery. Test it first so the activity you want to show remains recognisable.
How to choose a time-lapse interval
The interval is the time between photographs. Fast-moving activity usually needs a shorter interval to keep movement readable; a slowly changing scene can use a longer one. Start with how long the activity will take and how much of the finished video it should occupy.
A worked example: Ten seconds of video at 25 frames per second needs 250 photographs. To cover about one hour, an interval of roughly 14 seconds gives you around that number of images. This is a starting calculation, not a recommended setting for every subject.
Run a short test and play it back at the intended frame rate. If movement jumps too far between frames, shorten the interval. Leave enough time for each exposure and for the camera to write the file. For a project recorded only during working hours, base the calculation on those recording hours rather than the full calendar period.
Time-lapse equipment and camera position
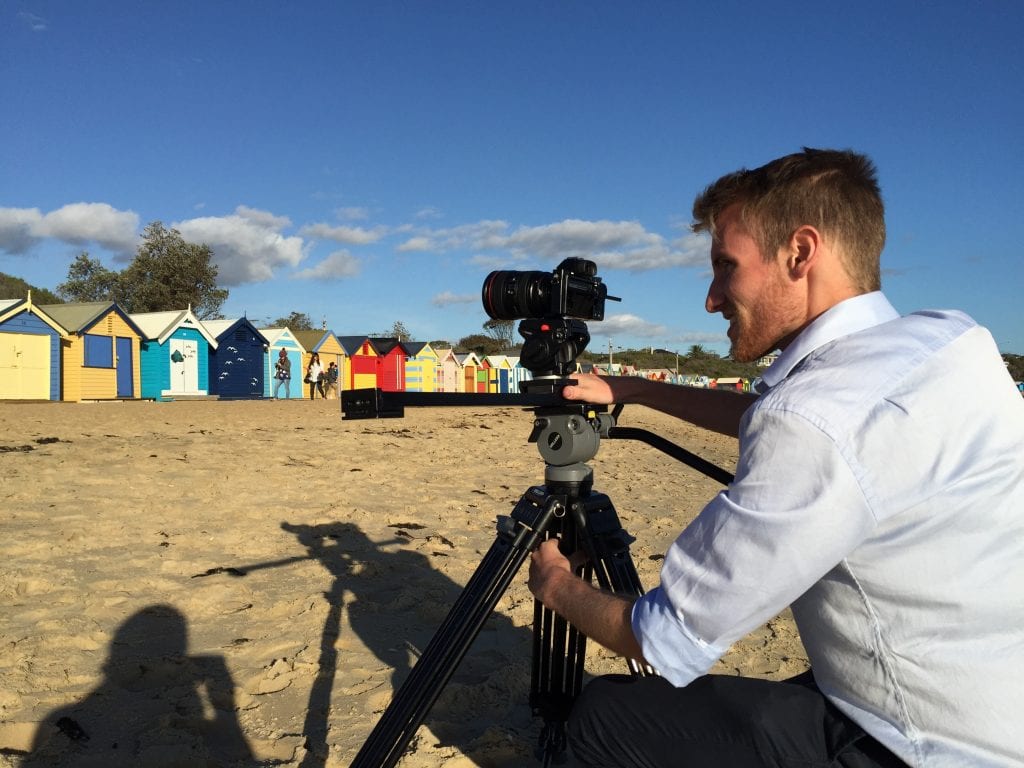
You need a camera, a stable tripod or secure mount, and a way to trigger photographs at regular intervals. An intervalometer does the triggering. Some cameras have this built in, including the Sony A7S III, which we have used for time-lapse work. Sony’s interval-shooting guide explains its settings and recording limits.
Choose a position that will still show the subject as the work progresses. Check whether vehicles, equipment or the completed structure could block the view. For a fixed-view sequence, the mount needs to stay in the same position throughout the shoot.
Planning power, access and changing light
A camera that works well for an attended shoot may need a different setup when it will be left outdoors for weeks. Before a longer recording, agree on:
- Power and storage: how the camera will be powered, when files will be copied and where backups will be kept.
- Protection and access: weather protection, secure mounting, site permission and a safe way to reach the camera.
- Checks: who will check the lens, framing and recording, and what happens if power fails or the work schedule changes.
For a scene with steady lighting, fixed focus, white balance and exposure can help avoid unwanted changes between frames. If daylight will change substantially, test how the camera handles that transition. Also check for flicker under artificial lighting before committing to the full recording.
Editing the time-lapse
Back up the photographs and keep them in order. If you recorded RAW files, process them consistently and export a numbered sequence in a format your editor supports. In Premiere Pro, import the numbered images as an image sequence and check the frame rate. Adobe’s image-sequence instructions explain the import steps.
Review the sequence for flicker, missing frames, camera movement and sudden exposure changes before adjusting colour and pacing. Match the export size and aspect ratio to where the video will be shown. Leave room in the original framing if both widescreen and vertical versions are needed.
A useful time-lapse makes the change easy to follow. Keep it long enough for the viewer to understand what happened, then use the rest of the corporate video to explain the people, work and purpose behind it.
Ryan Spanger is the founder and managing director of Dream Engine, a Melbourne video production company established in 2002. Over the past two decades, he’s produced hundreds of videos for businesses, government departments, universities and healthcare organisations across Australia. Ryan specialises in helping organisations explain complex ideas through clear, engaging video content, with particular experience in corporate communications, training and education.