Uploading your website video to YouTube or Vimeo is a great way to help promote your business.
When you upload your video to a hosting service like Youtube or Vimeo, they’ll choose a random image (known as a thumbnail). This is the image that viewers will see before they play your video. Sometimes the random image that it chooses will look good but the luck of the draw says that sometimes this image will be unflattering e.g. someone blinking or in mid speech. So it pays to be able to set your own thumbnail image.
Setting a video thumbnail only takes a moment. If you have the time, you can design a custom thumbnail, and upload it to your video hosting service. But usually a still frame taken from within the video will work just fine. Also consider what the video will look like on your website if you’re planning on embedding it. Often a still frame of your company logo does the job if the video is for a business. You can always change a thumbnail if your first choice didn’t work.
Step-by-step guide to setting a video thumbnail on Youtube
First you’ll need to make sure you’re logged into your YouTube account.
Now navigate to the video that you want to alter. The easy way to do this is to go to the drop down menu in the top left corner next to the Youtube logo and click ‘My Channel’. Now you can go to ‘Videos’ in the middle of the page and you should be able to find your video pretty easily.
Once You’ve opened the video, click on the pen icon under the video player.
![]()
You should now be seeing something similar to this:
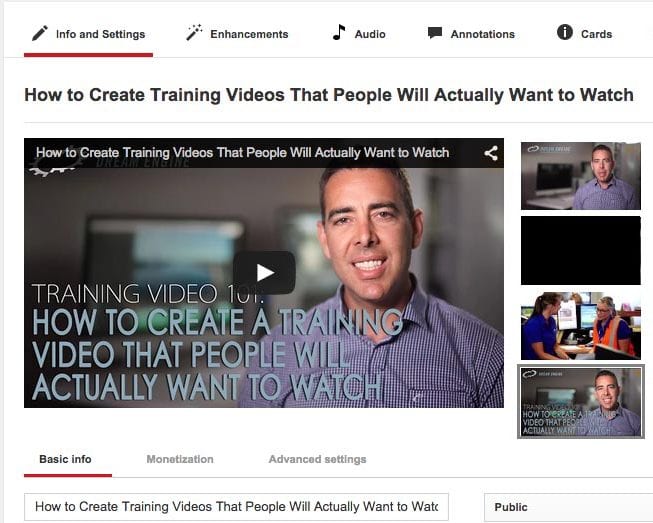
You can see on the right side of the video player there are some small still frames. If you want to keep things really simple you can select one of three random images that YouTube selects for you. Select the one that looks the best to make it the thumbnail.
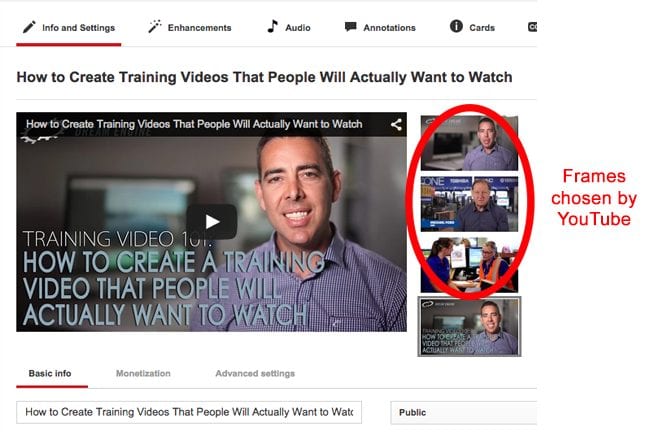
I’ve created my own in Photoshop and uploaded it to Youtube. To do this I clicked on the bottom image and chose to upload my own.
Now you’ll need to click ‘Save Changes’ at the bottom right on the page.
Step-by-step guide to setting a video thumbnail on Vimeo
When you log into Vimeo go to ‘My Videos’ and find the video you want to change. Click on the video title to open it.
Now you should see something like the image below. Click on the ‘settings’ button to open the settings.
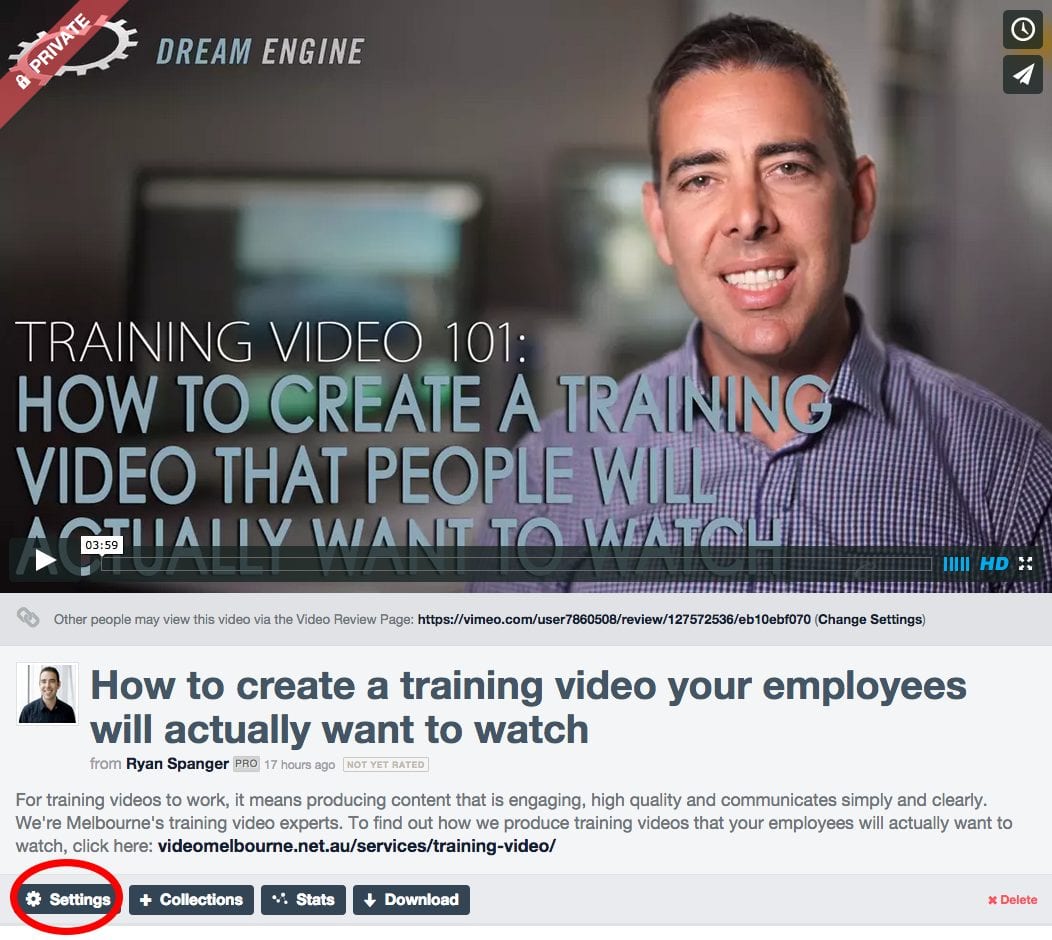
Scroll down to the bottom and you’ll see a title called ‘Thumbnails’.
The icons that you’ll need are called ‘Choose’ or ‘Upload’.

If you want to keep things simple and chose an image from your video, simply select ‘choose’ and it will open a video player. Watch or scroll through the video until you find a frame you like. I’ve found a nice one of me smiling. Now click use this frame and don’t forget to save your changes.
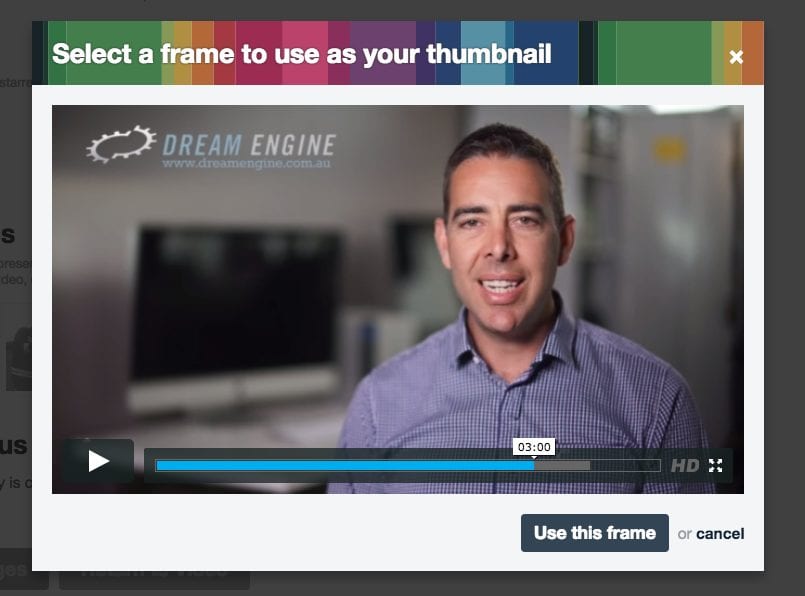
Alternatively, if you’d rather use a custom image that you’ve created yourself, click on upload.
And thats it! You can now control the image that your viewers are seeing before they play your video production, or join a live streaming session, rather than relying on YouTube or Vimeo to choose the right image.
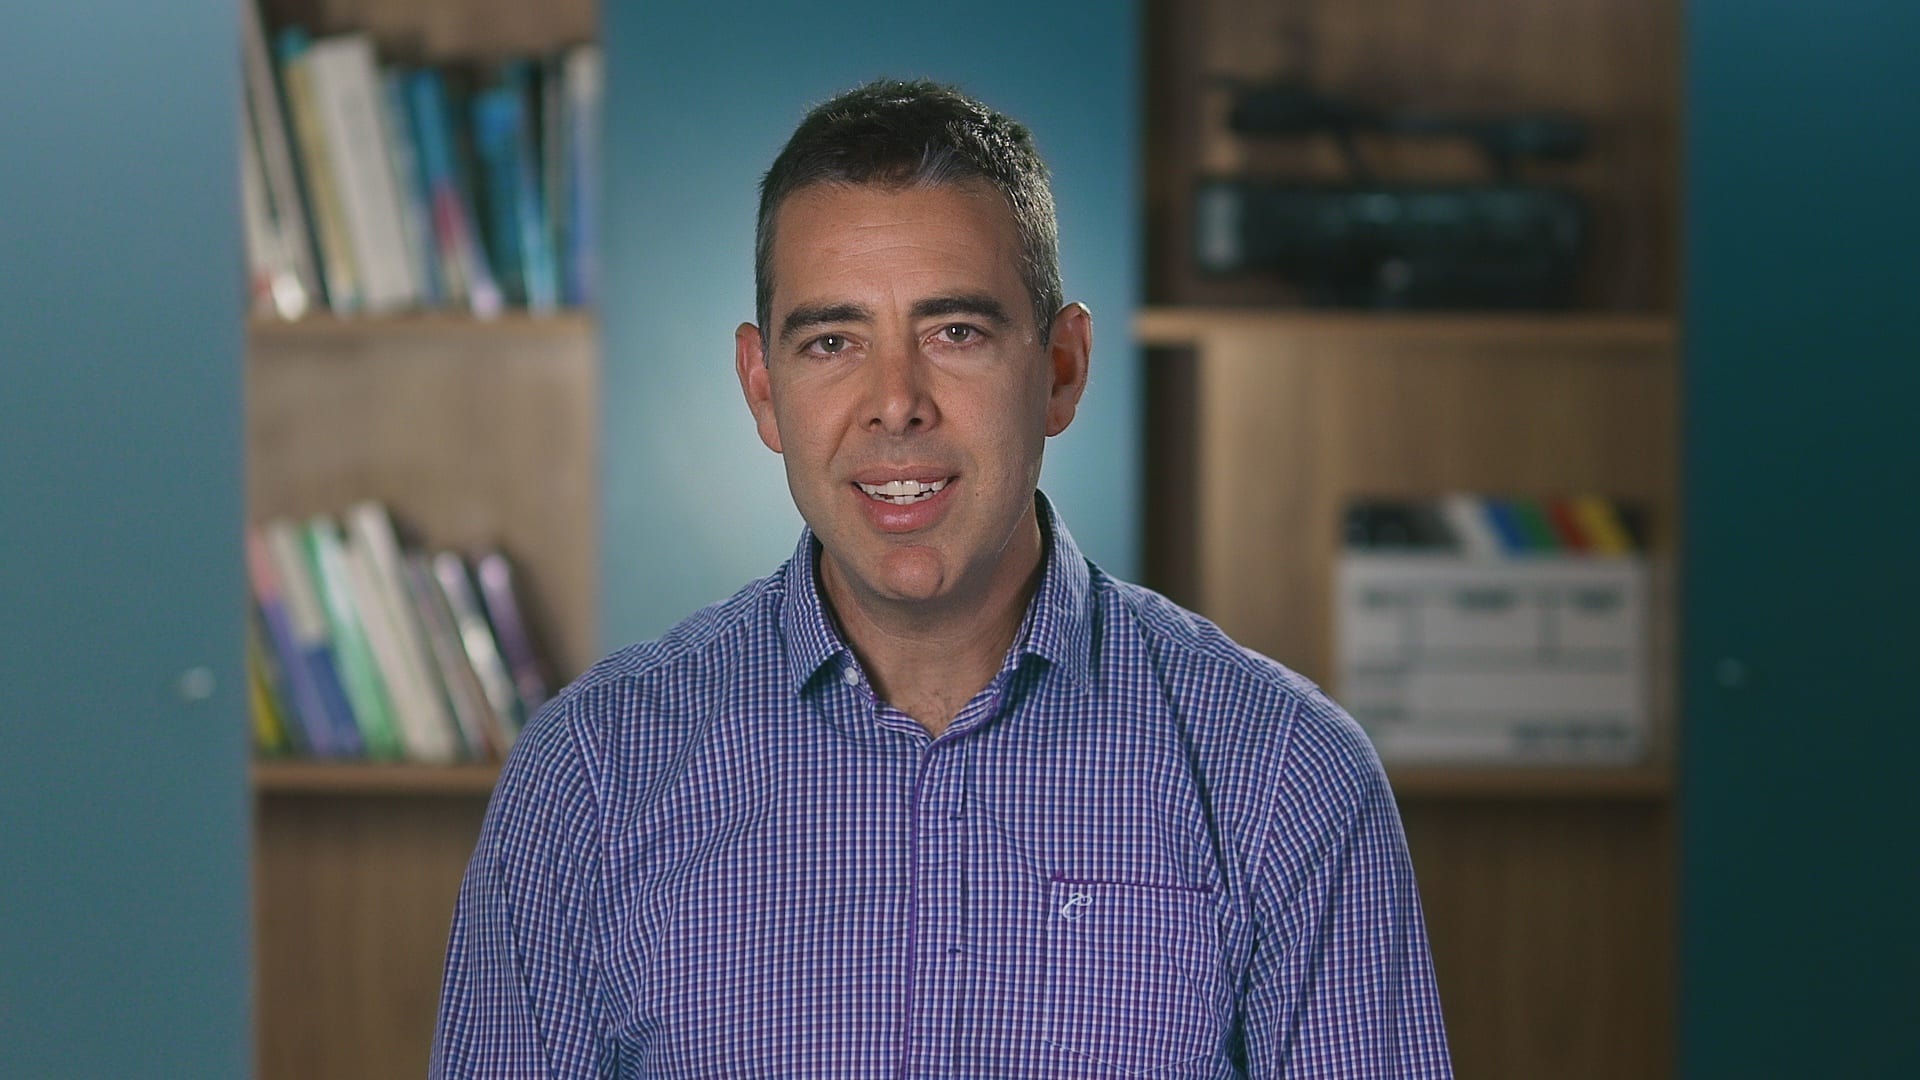
Ryan Spanger is one of Melbourne’s most respected and sought-after video production professionals. Ryan founded Dream Engine in 2002, and specialises in helping medium to large corporates, government departments, and the non-profit sector to connect with their audience more effectively by using video.
