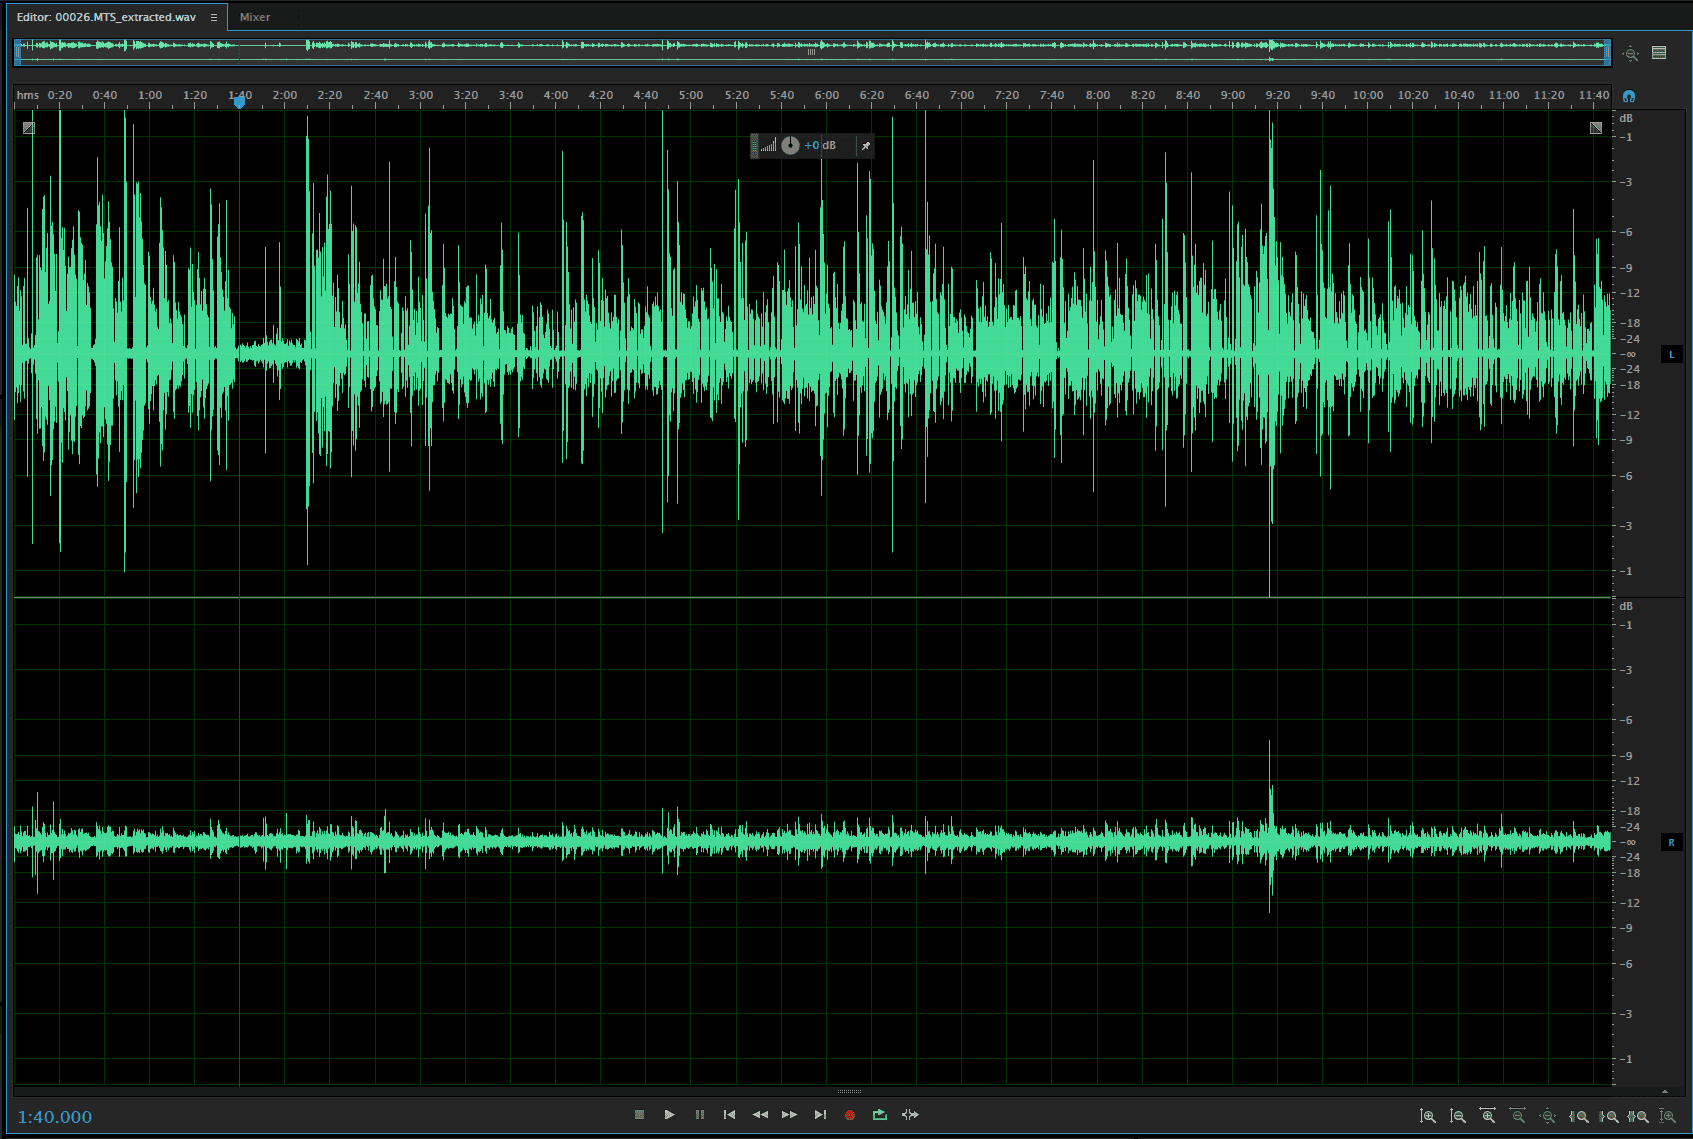
Sound is such an integral part of the video production process, but sadly it is often an afterthought. Your video might look like a big budget Hollywood production, but if it sounds like two mosquitoes in a can then it’s all for nothing. Here are some tips that Dream Engine use to capture pristine sound, and how to use sound and music in tandem to create a compelling video.
Get The Equipment Right
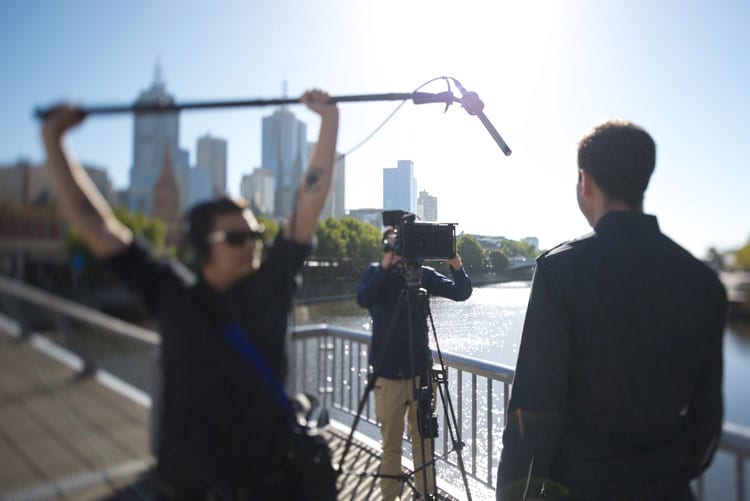
There are several different ways for a freelance camera crew capture sound on a shoot and there are a few things to consider when you’re prepping for the shoot day. Firstly you’ll have to consider how many people you’ll be recording at once. If you’re recording more than two people, say in a panel style discussion, each presenter must be mic’d up with either wireless lapel mics, or with boom mics. You must also have enough XLR cable inputs into your camera or external recording device. For the best possible sound we suggest running all your microphones through a professional mixer from a brand like Sound Devices, but if you’re on a budget you can plug straight into the camera. If you’re using a DSLR or a camera without XLR inputs, something like a Tascam, or Zoom H6 recorder will perform well.
We use a Rode NTG3 mounted to a microphone stand for our interviews as the sound quality is excellent with a rich sound. For the best results we place the microphone about 30-45cm away from the speaker’s mouth. This distance is the sweet-spot where you avoid distortion from being too close, and unwanted background noise from being too far away.
Control the Environment
Making sure the sound you’re recording is isolated and free of any background noise is the first thing you should do for sound on set. This means turning off air-conditioning, closing doors and unplugging the fridge. (Don’t forget to turn it back on when you’re done). Before hitting record turn up the volume on your monitor headphones and listen really carefully for any unwanted background noise. Can you hear cars go by outside? Planes going overhead? Some things are unavoidable depending on your environment (sadly you can’t politely ask birds to stop chirping) but do your best to minimise it.
We also like to record a few seconds of ambient room noise, or “atmos” as it’s known. This is just a general recording of the rooms general “hum,” and can be used in editing to cover up edits and give the video a more consistent sound.
Keep off the (Sound) Tracks
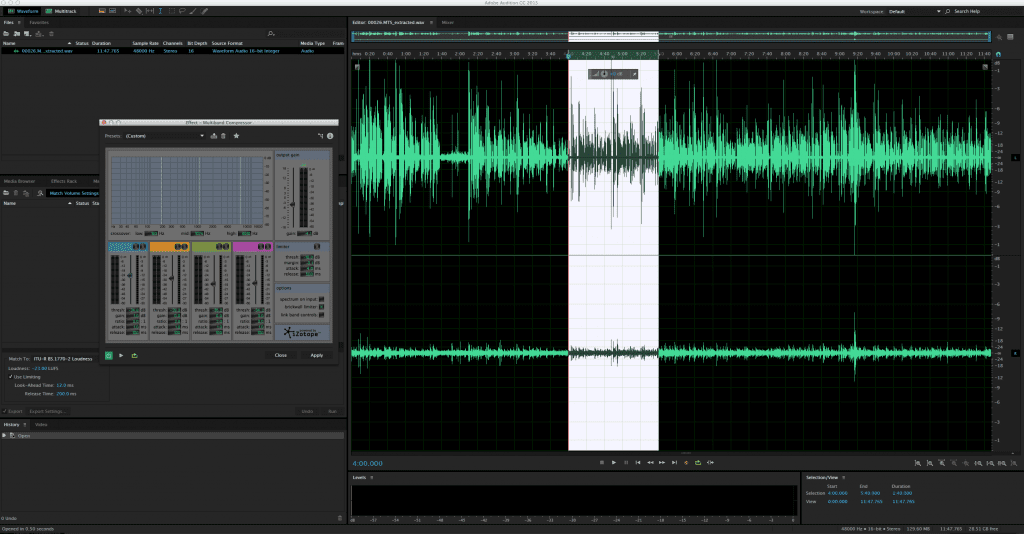
Once we’ve recorded everything on the day as clean as humanly possible, it’s time to move into the edit suite. Sound will usually one of the last things we tinker with in the edit as it’s much easier to work with when the footage is locked off and everybody’s ready for the final touches. There are dozens of audio editing programs out there, we primarily use Adobe Audition as it links in well with Adobe Premiere. You’ll want to mix the sound first to ensure that sound levels are even throughout the video. If you have added music, you’ll want to ensure that you have smooth fades between dialog and the music. We usually source our stock music from a site like AudioJungle, where you can search through categories and keywords to find something suitable.
Dialog should be peaking on your waveforms at about -6 to -12dB. You may also want to apply some compression to the audio, which will boost quieter moments and lower louder moments into a more even finished product. There are many other options to play with but this should ensure your dialog is clean and mixed well. Export at the highest quality wav file and you’ll have a beautiful audio mix for your video.
If you’re looking to create high quality video with great sound, get in touch with Dream Engine today.
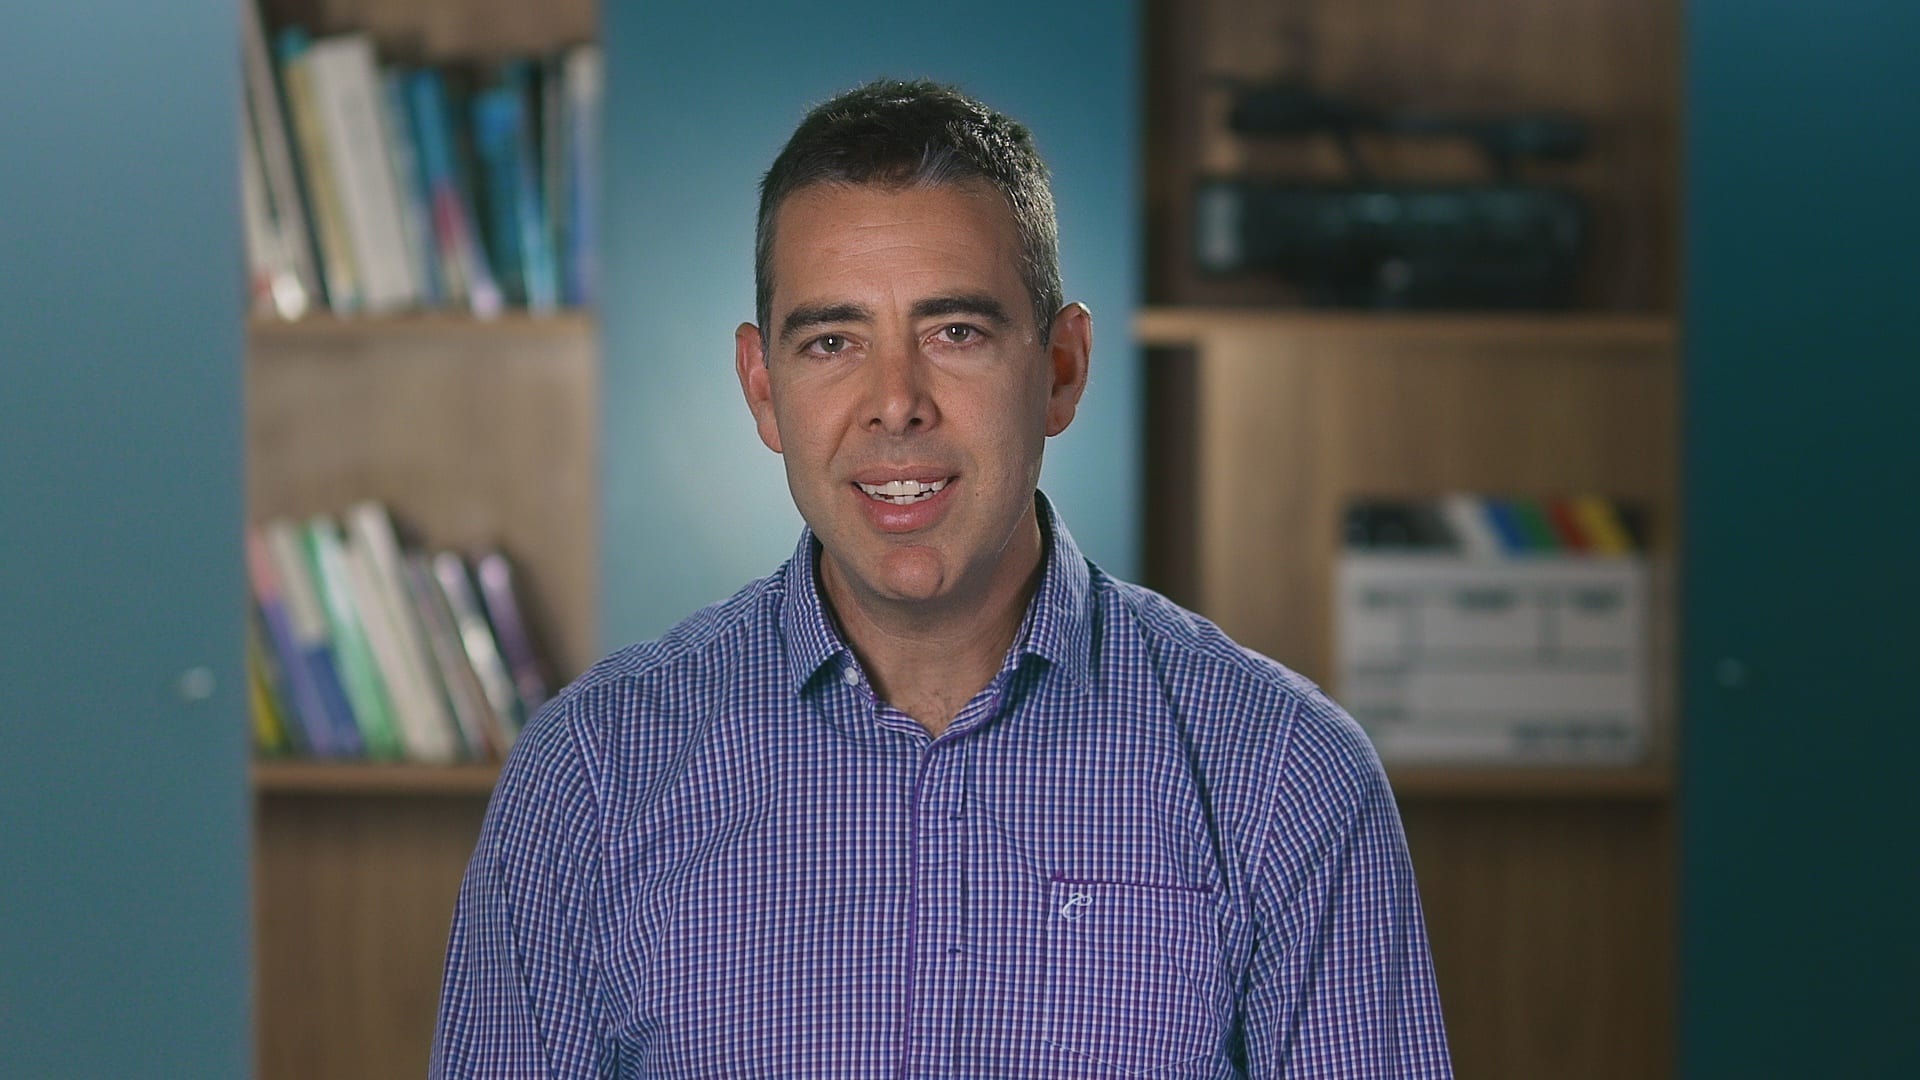
Ryan Spanger is one of Melbourne’s most respected and sought-after video production professionals. Ryan founded Dream Engine in 2002, and specialises in helping medium to large corporates, government departments, and the non-profit sector to connect with their audience more effectively by using video.
