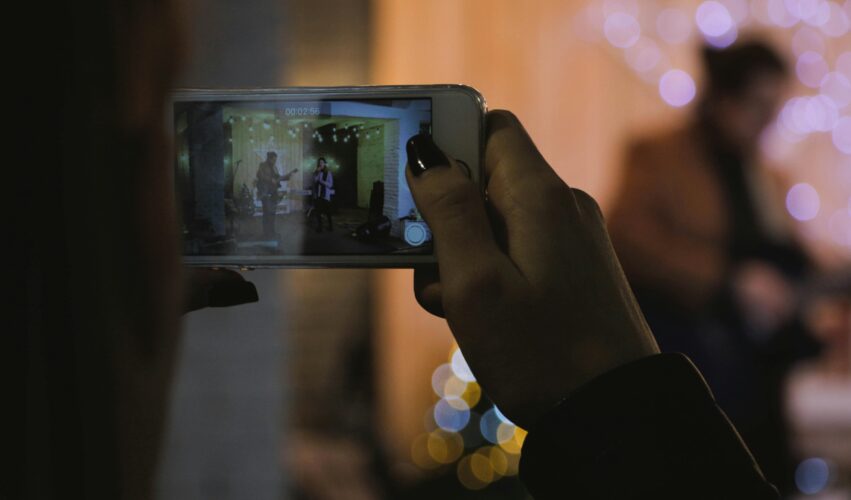
Some clients need to capture their own footage rather than work with our videographer. Sometimes it’s because the moment is happening right now, or because you’re already on site. This guide will help you capture material that looks better, sounds better and gives us more flexibility in the edit.
Your Footage Can Look Great With a Few Simple Steps
This guide helps you record clean, stable and usable video, even on a phone. If you’re filming something important and want quick advice, reach out. And if you’d prefer a professional crew to take care of the entire process, we can help.
Record in the Highest Quality
Set your phone or camera to record in 4K when available. If not, film in 1080p. Higher resolution gives us more detail to work with in the edit.
Film in Landscape Orientation
Hold your phone horizontally. This suits almost all professional formats. Only film vertically if we’ve asked for it.
Keep the Camera Steady
Shaky footage is one of the most common issues. Try:
- Holding your phone with two hands
- Leaning on a wall or desk
- Resting your elbows against your body
- Using a small tripod if you have one
Hold Each Shot for 5 to 10 Seconds
Most people move the camera too quickly. Hold each shot steady for a slow count of five. It will feel slow but it gives us much more usable material.
Capture a Mix of Shots
Good videos come from variety. Aim to film:
- Wide shots to show the environment
- Medium shots for people or actions
- Close-ups of details like hands, tools or screens
Use Good Lighting
Face your subject toward a source of light. Avoid bright windows behind them or harsh overhead lights. Soft, even lighting works best.
Record Clean Audio
If you’re filming someone speaking, try to:
- Move closer to them
- Film in a quiet space
- Avoid fans, machinery or traffic
Think About the Story
Before filming, consider what will help someone understand what is happening:
- Where you are
- Who is involved
- What is happening
- What details matter
If You’re Filming an Event
For presentations or training sessions:
- Keep the camera steady
- Avoid zooming in digitally
- Capture audience reactions
- Record close-ups of hands, notes or demonstrations
- Film wide shots of the venue
Sending Us Your Footage
When you’re ready to deliver your files:
- Send full-quality, uncompressed files
- Label them clearly if possible
- Upload everything to the shared folder we provide
Related Services
Frequently Asked Questions
What resolution should I film in?
Film in 4K when possible. Otherwise, use 1080p.
How long should each shot be?
Aim for five to ten seconds per shot so we have enough material to edit.
Should I film in landscape or portrait?
Landscape is preferred unless vertical footage has been specifically requested.
How can I stabilise my camera?
Use two hands, lean against a stable surface or use a small tripod.
How do I capture better audio?
Move closer to the person speaking and avoid noisy locations.
How should I deliver my footage?
Send full-quality files without compression and label them clearly before uploading.

Ryan Spanger is the founder and managing director of Dream Engine, a Melbourne-based video production company established in 2002. With more than two decades of experience, Ryan has helped leading Australian businesses, government departments, and non-profits communicate their message with clarity and impact through video. He’s known for his strategic approach, reliable process, and commitment to producing videos that deliver measurable results.

